A cleaner blade that wears out quickly is not automatically a bad blade. The root cause may be excessive tension, a poor mounting angle, belt damage, an uneven splice, material trapped behind the tip, or a cleaner installed outside the intended pulley zone. Effective belt cleaner troubleshooting begins with the wear pattern, because that pattern records how the blade and belt have been interacting.
This guide helps conveyor maintenance teams diagnose polyurethane primary-cleaner blade wear before changing material or ordering another set. It covers inspection safety, contact patterns, tension, installation geometry, belt condition, carryback, and the information a supplier needs to review a belt cleaner application.
Table of Contents
Make the Conveyor Safe Before Reading the Wear Pattern
Cleaner inspection places personnel close to a nip point, stored tension, and moving conveyor components. Follow the site’s isolation and lockout procedure before touching the belt cleaner, releasing a tensioner, or removing compacted material. Guards and safe access must be restored before operation. OSHA 1910.212 and OSHA 1910.219 provide relevant U.S. machine-guarding references.
Photograph the blade in its installed position before adjustment. Record conveyor direction, cleaner location, tensioner setting, remaining blade height, and the distribution of carryback. Mark left, center, and right so removed segments can be traced to their belt position. This evidence is far more useful than a loose worn blade with no installation history.
Use Belt Cleaner Blade Shape to Narrow the Cause
Uniform wear across the width usually indicates consistent contact, although the rate may still be excessive. Heavy center wear can point to belt cupping, center loading, or mounting alignment. One-sided wear suggests skew, unequal tension, a pulley or belt tracking issue, or a blade segment that is not seated correctly. Chipping and tearing call for a different investigation than smooth abrasion.
Inspect the belt cleaner edge for glazing, melting, embedded particles, cracks at segment joints, and impact marks from splices or repairs. Then compare the pattern with the pulley surface and belt path. Changing to a harder blade without correcting uneven contact can concentrate load further and damage both the new blade and the belt.
| Observed wear | Possible causes | First checks |
|---|---|---|
| Even but unusually fast | Over-tension, high speed, abrasive carryback | Verify tension and duty conditions |
| Heavy on one side | Cleaner skew or belt tracking | Measure mounting alignment |
| Center wears first | Belt profile or center loading | Inspect pulley and belt shape |
| Chunks missing | Splice impact, trapped lump, unsuitable edge | Inspect belt surface and clearance |
| Glazed or heat-marked edge | Friction heat or dry high-speed contact | Review pressure, speed, and material |
Verify the Belt Cleaner Contact Zone
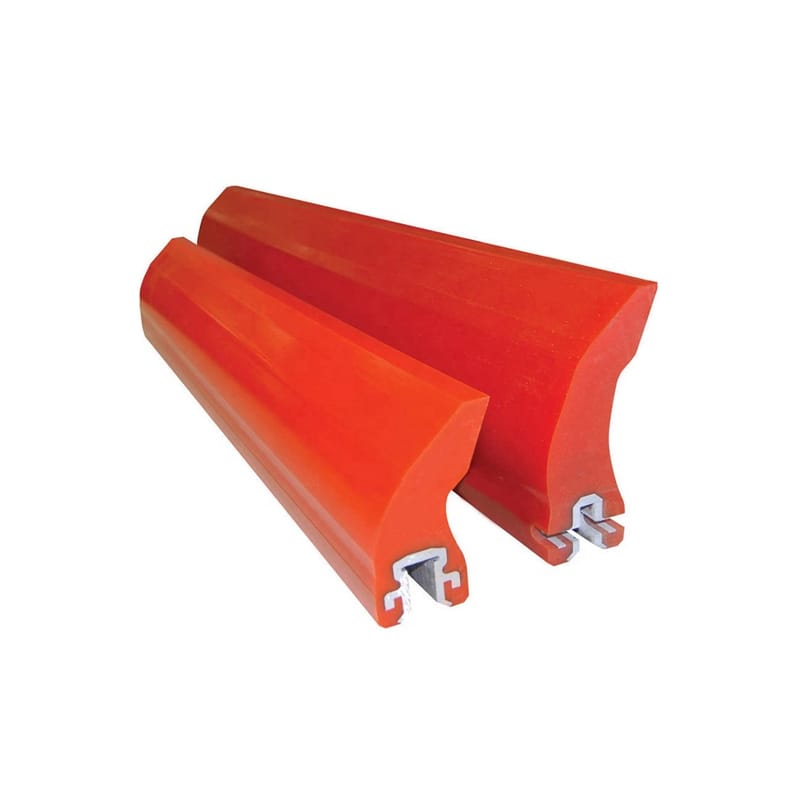
A primary cleaner normally works where the belt is supported by the head pulley. If the contact point is too far from that support, the belt can deflect away from the blade and then snap back. If the mounting angle is wrong, the blade may dig in, fold over, or present an unstable edge. Check dimensions against the equipment drawing rather than estimating from a worn installation.
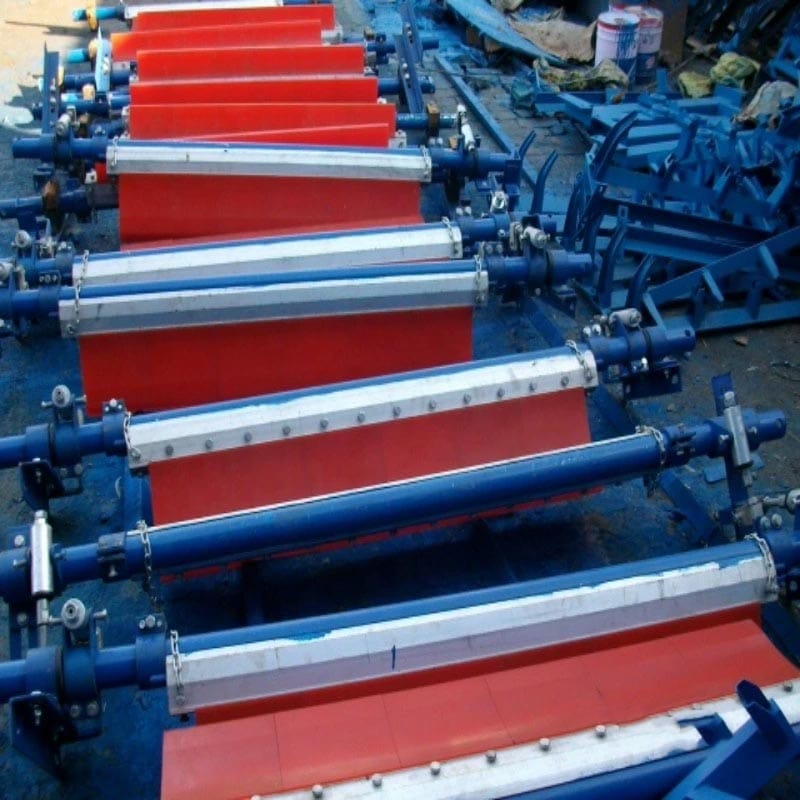
Confirm that the mainframe is square to the belt and that segments can move as designed. Structural interference, seized mounts, or compacted fines may prevent equal contact. The PU belt cleaner selection guide discusses broader selection considerations, while this belt cleaner diagnosis should remain focused on the actual installed geometry.
Reset Tension by Method, Not by Appearance
More pressure does not always produce a cleaner belt. Excessive tension increases friction, blade wear, heat, and the force applied to belt splices. Too little tension allows carryback to pass and can make the blade chatter. Use the tensioner manufacturer’s procedure and account for blade wear position rather than tightening until the belt cleaner merely looks firm.
After adjustment, observe from a safe location during controlled operation. Check whether the blade maintains contact without vibration and whether carryback changes across the width. Record the setting so future inspections can distinguish normal compensation from repeated over-tightening.
- Confirm the correct tensioner range and adjustment procedure.
- Release packed material that prevents segment movement.
- Check equal adjustment on both sides of the belt cleaner.
- Record blade height and tensioner position after service.
- Never adjust or clean the assembly while the conveyor is moving unless a documented engineered procedure permits it.
Inspect Belt Splices, Repairs, and Surface Damage
Raised fasteners, lifted splice edges, damaged covers, and hardened repair patches can strike a cleaner repeatedly. The blade may show periodic cuts or a localized missing section. Inspect the full belt length under the site’s safe maintenance procedure and identify whether the belt cleaner must be compatible with a mechanical or vulcanized splice.
Do not grind or modify a belt splice without approval from the responsible belt specialist. The correct response may involve repairing the belt, changing cleaner position, selecting a splice-compatible blade geometry, or improving clearance. Treat the belt and cleaner as one interface rather than blaming whichever component shows damage first.
Connect Carryback Material to the Wear Mechanism
Dry fine dust can abrade differently from wet sticky fines. Sharp particles may cut the edge, while clay-like buildup can lift the blade away and create uneven pressure. Record particle size, moisture, temperature, chemistry, and whether the material hardens during shutdown. These details influence belt cleaner blade chemistry and edge design.
ASTM D5963 can support controlled abrasion comparison, ASTM D624 addresses tear strength, and ASTM D2240 covers durometer hardness. None reproduces every conveyor. Field wear patterns and controlled material tests should be used together.
Decide Whether Material or Geometry Should Change
A harder polyurethane may preserve an edge under some abrasive conditions, but it can reduce conformity and raise impact stress. A softer grade may follow belt irregularities yet generate more heat or wear faster. Review speed, pulley diameter, tension, temperature, contaminants, and splice impact before changing the belt cleaner compound.
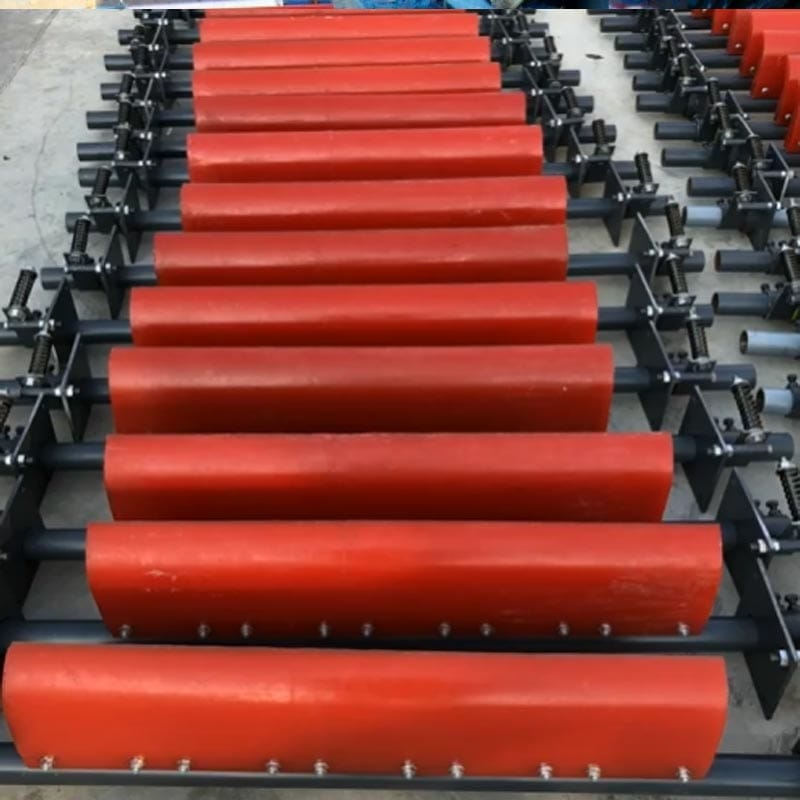
Blade thickness, attack angle, segment width, relief geometry, and support can be as important as hardness. If wear occurs only at segment corners or mounting features, a local geometry change may be more effective than a full material change. The PU primary belt cleaner page shows a primary-cleaner product format suitable for custom application review.
Create a Repeatable Belt Cleaner Maintenance Record
Measure remaining blade height at fixed points and record operating hours or conveyed tonnage if reliably available. Add photographs from the same angle, tensioner position, carryback condition, belt changes, and maintenance actions. A trend can show whether a modification improved belt cleaner performance without inventing a universal replacement interval.
Set inspection frequency according to risk and observed wear, not a generic calendar alone. Replace blades before the holder or mainframe can contact the belt, and investigate sudden changes promptly. The UHMWPE wear strip selection guide can help teams connect cleaner service with other polyurethane wear components on the conveyor.
Frequently Asked Questions
Why is a belt cleaner blade wearing on one side?
Likely causes include a skewed mainframe, unequal tension, belt tracking, pulley alignment, seized segments, or uneven material buildup. Measure the installation before changing blade material.
Does more belt cleaner tension improve cleaning?
Not necessarily. Too much pressure can accelerate wear, heat the edge, increase splice impact, and damage the belt. Use the documented tensioner method and verify performance.
What causes chunks to break from a polyurethane blade?
Check for raised splices, belt repairs, trapped material, excessive attack angle, low-temperature impact, edge defects, and an unsuitable combination of hardness and geometry.
How often should cleaner blades be inspected?
Base frequency on conveyor risk, wear trend, material, access, and operating duty. Early inspections after installation establish the rate; sudden pattern changes require investigation.
What data should be sent for a replacement blade review?
Provide belt width and speed, pulley diameter, splice type, cleaner position, mounting dimensions, tensioner, conveyed material, moisture, temperature, photographs, wear map, and operating history.
Request a Belt Cleaner Wear-Pattern Review
Huadao can review photographs, dimensions, and operating conditions for PU primary belt cleaner and distinguish likely installation, tension, belt, carryback, geometry, and polyurethane factors.
Use the contact page to share the wear map and conveyor details. A documented belt cleaner diagnosis provides a stronger basis for replacement than selecting a blade from hardness alone.