Rubber-to-metal components often look simple: a metal insert is surrounded by or attached to an elastomer, creating one functional part. In practice, the interface between these two materials can become one of the most demanding areas in the entire component.
A bonded bushing may repeatedly absorb vibration. A rubber-metal mount may carry static load while cycling through temperature changes. A buffer may experience impact, moisture, oil, and long periods of compression. If the interface is not engineered correctly, separation can begin long before the rubber itself reaches the end of its expected service life.
This is why rubber to metal bonding should be treated as an engineered manufacturing system rather than a simple adhesive operation. Material compatibility, metal preparation, insert geometry, adhesive application, molding conditions, cure control, and final validation all influence whether the bond survives actual service.
This guide focuses on the questions industrial buyers, product engineers, and sourcing teams should ask before approving a bonded rubber component.
Table of Contents
What Is Rubber to Metal Bonding?
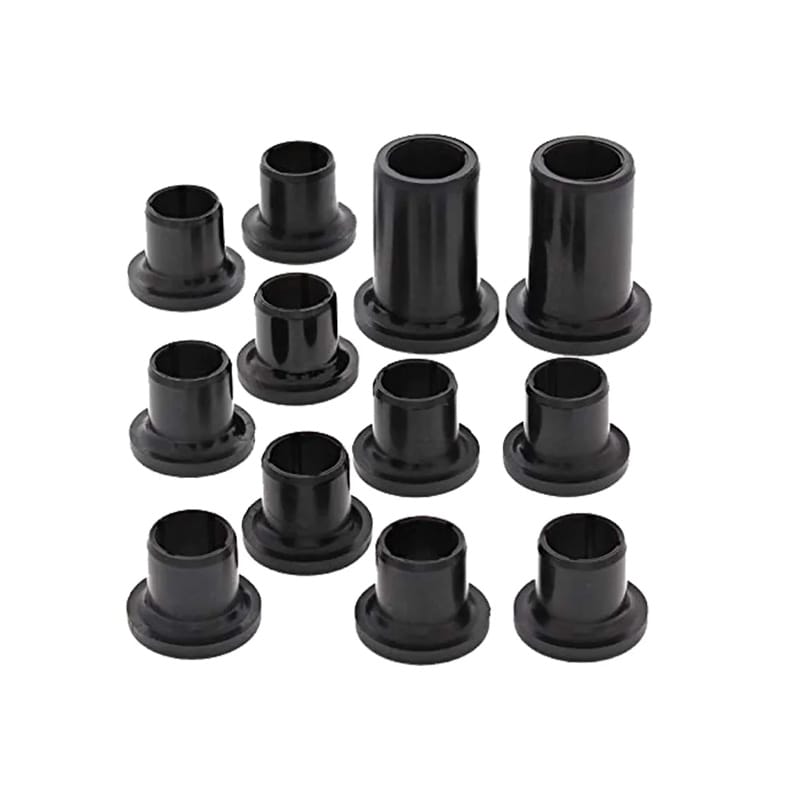
Rubber to metal bonding is a manufacturing process in which vulcanized rubber is securely joined to a metal substrate to create a single functional component.
In many industrial applications, the metal provides structural strength, dimensional stability, threads, mounting surfaces, or load transfer. The rubber provides elasticity, vibration damping, sealing, impact absorption, flexibility, or noise reduction.
Common examples include:
- Rubber bushings with metal sleeves
- Anti-vibration mounts
- Rubber buffer assemblies
- Bonded sealing components
- Suspension-type bushings
- Rubber-covered rollers
- Equipment feet
- Shock absorbers
- Rubber-metal isolators
- Bonded pads and supports
The bonding interface must withstand the different mechanical behavior of the two materials. Metal is relatively rigid, while rubber can undergo large elastic deformation. Temperature changes can also make each material expand or contract differently.
For this reason, reliable rubber to metal bonding depends on more than simply placing adhesive between two surfaces.
Industrial buyers considering bonded parts can also review the site’s broader guide to custom molded rubber parts to understand how material, hardness, geometry, and molding method interact in customized applications.
Why Rubber-Metal Interfaces Fail Differently from the Rubber Itself
One important concept in failure analysis is that a bonded component has several possible weak points.
The rubber compound can tear.
The rubber can separate from the bonding layer.
The bonding layer can separate from the metal.
The metal insert can corrode underneath the interface.
The insert itself can deform or fracture.
These failures may look similar from a distance, but their causes are very different.
Cohesive Rubber Failure
A cohesive failure occurs when rubber remains attached to the metal but the elastomer tears internally.
This can indicate that the rubber to metal bonding interface was stronger than the surrounding rubber under that particular test condition.
However, it does not automatically mean the entire part design is correct. Excessive strain, poor rubber tear resistance, sharp insert edges, or stress concentration can still destroy the component.
Adhesive Interface Failure
If the rubber separates cleanly near the metal surface, the bonding interface deserves closer investigation.
Possible causes include:
- Contaminated metal
- Oxidation before bonding
- Inadequate surface preparation
- Incorrect drying
- Uneven bonding layer
- Incompatible rubber compound
- Incorrect molding temperature
- Insufficient cure
- Environmental attack during service
The surface appearance after failure provides valuable diagnostic information.
Mixed Failure
Many real components show more than one failure mode. One area may contain torn rubber while another shows a relatively clean metal surface.
Mixed failure often suggests uneven processing conditions, inconsistent surface preparation, local stress concentration, or nonuniform adhesive coverage.
This is why failed components should be examined over the entire bonded area rather than at only one location.
The Rubber to Metal Bonding Process Step by Step
Although manufacturing methods vary according to material and application, a robust bonding process usually follows several controlled stages.
Engineering Review
Before production starts, the manufacturer should review:
- Rubber material
- Metal type
- Insert geometry
- Bonded area
- Expected deformation
- Loading direction
- Operating temperature
- Chemical exposure
- Required hardness
- Production quantity
- Dimensional tolerances
- Inspection requirements
This stage is particularly important for custom parts because the bonding process may affect mold design and insert positioning.
Metal Cleaning
Metal inserts may arrive with:
- Cutting oil
- Drawing lubricant
- Rust inhibitor
- Fingerprints
- Dust
- Polishing residue
- Coolant
- Packaging contamination
These contaminants can interfere with the interface.
Cleaning must therefore produce a controlled surface rather than merely a visually clean surface.
Surface Preparation
Depending on the substrate and application, surface preparation can involve mechanical or chemical treatment.
The goal is generally to remove unstable surface layers and create a condition suitable for reliable bonding.
The chosen method must also avoid damaging critical dimensions, threads, thin walls, or other functional surfaces.
Bonding Agent Application
A bonding system is applied to the prepared metal under controlled conditions.
Important variables include:
- Coating thickness
- Coverage
- Drying conditions
- Time between preparation and coating
- Time between coating and molding
- Storage environment
- Contamination control
More coating does not automatically mean stronger rubber to metal bonding. Excessively thick, uneven, damaged, or incompletely dried layers may create their own defects.
Insert Placement
Coated inserts must be positioned accurately in the mold.
Poor positioning can create:
- Uneven rubber thickness
- Exposed metal
- Flash around the insert
- Off-center holes
- Incorrect bonded area
- Local stress concentration
- Assembly problems
For high-repeatability projects, dedicated locating features may be required.
Molding and Vulcanization
Rubber is molded around or against the prepared insert using an appropriate molding process.
During vulcanization, several events must occur together:
- Rubber fills the cavity.
- Air escapes from critical areas.
- The bonding system activates correctly.
- The elastomer reaches the required cure state.
- The insert remains correctly positioned.
- Pressure is maintained through the cycle.
Variations in mold temperature, pressure, fill behavior, and cure time can influence final rubber to metal bonding performance.
Demolding and Post-Processing
Removing a bonded component can introduce damage if the part is pulled, twisted, or bent excessively while still hot.
Depending on the rubber system and specification, additional post-curing or conditioning may be required before final testing.
Why Surface Preparation Has Such a Large Effect
The metal surface is the foundation of rubber to metal bonding.
A common mistake is to think that strong bonding chemistry can compensate for poor surface preparation. In reality, the bonding layer can only adhere to the surface that is actually present.
If it is applied over oil, loose oxide, or contamination, the weakest layer may remain underneath the bond.
Contamination You Cannot Always See
A metal component can appear clean while still carrying a thin contaminant film.
Possible invisible contamination includes:
- Machining oil
- Silicone-containing release products
- Grease
- Cleaning residue
- Moisture
- Fingerprints
- Corrosion-prevention coatings
For critical bonded parts, the cleaning process should therefore be documented and repeatable.
The Time Between Preparation and Bonding Matters
Freshly prepared metal does not remain unchanged indefinitely.
Depending on the metal and environment, exposed surfaces can oxidize, absorb moisture, or collect airborne contamination.
Production planning should minimize uncontrolled delays between cleaning, preparation, coating, and molding.
More Surface Roughness Is Not Always Better
Increasing roughness can improve mechanical interaction in some bonding systems, but an extremely rough surface may not automatically improve the final part.
The correct preparation depends on:
- Metal grade
- Insert thickness
- Bonding chemistry
- Rubber compound
- Service environment
- Required dimensions
- Corrosion risk
Surface preparation should therefore be qualified as part of the complete manufacturing process.
How Metal Selection Affects Bond Performance
Steel is common in bonded industrial components because of its strength and manufacturing flexibility, but rubber to metal bonding can also involve stainless steel, aluminum, brass, and other rigid substrates.
The metal influences both manufacturing and long-term performance.
| Metal Factor | Why It Matters |
|---|---|
| Surface chemistry | Influences preparation and bonding behavior |
| Corrosion resistance | Affects long-term interface stability |
| Thermal expansion | Changes interface stress during temperature cycling |
| Insert stiffness | Influences deformation and load distribution |
| Thickness | Thin inserts may distort during molding or service |
| Machining finish | Affects preparation consistency |
| Coatings or plating | Can change the surface that must actually be bonded |
| Edge geometry | Sharp edges can create local stress concentration |
Coated or Plated Inserts Need Special Attention
When a drawing specifies plating or another surface treatment, the bonding process must be considered early.
The manufacturer needs to know whether:
- The bonded area will remain coated.
- The coating will be removed locally.
- Bonding occurs before or after finishing.
- The coating can withstand molding temperature.
- The surface treatment is compatible with the intended bonding process.
Changing a metal finish after validation can change rubber to metal bonding performance even when the basic metal grade remains the same.
How Rubber Material Changes the Bonding Strategy
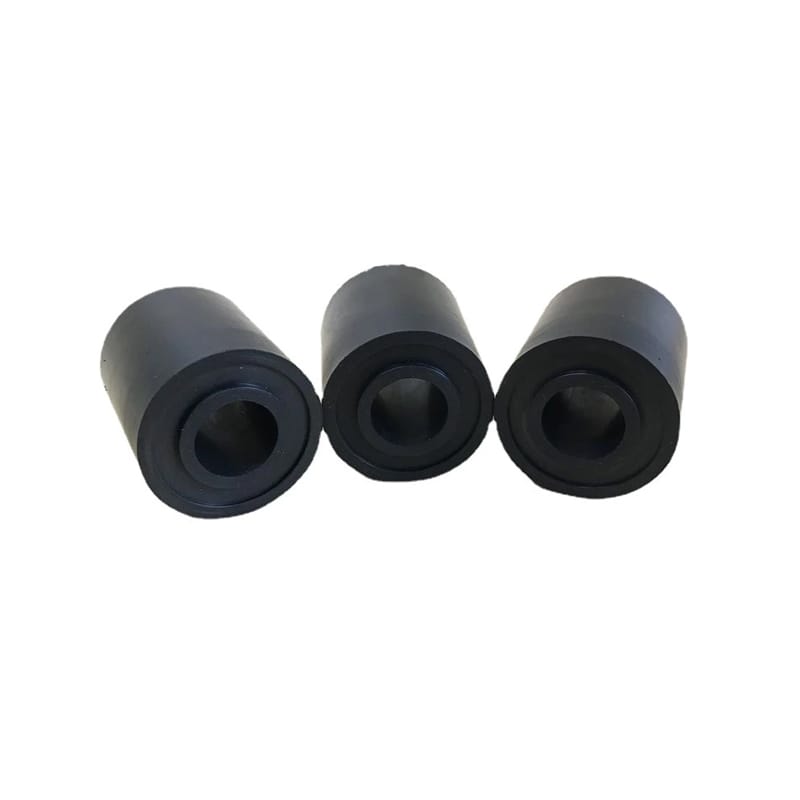
There is no universal rubber compound for bonded components.
Common elastomer families may include NBR, EPDM, silicone, natural rubber, neoprene-type compounds, fluorinated elastomers, and other specialized formulations.
The correct material is selected primarily according to the service environment.
Oil and Fuel Exposure
For equipment exposed to lubricants or hydrocarbon-based fluids, fluid compatibility is essential.
Swelling can place additional stress on the rubber to metal bonding interface. Excessive softening can also change the way loads are transferred through the bonded part.
Outdoor Exposure
Components installed outdoors may experience:
- UV exposure
- Ozone
- Rain
- Humidity
- Temperature cycling
- Dust
- Freeze-thaw conditions
The rubber compound and exposed metal surfaces must both be selected for this environment.
Elevated Temperature
Heat affects more than the rubber.
It may also change:
- Rubber modulus
- Compression behavior
- Bond-line stress
- Metal expansion
- Aging rate
- Chemical resistance
A part that performs well during an initial room-temperature pull test may behave differently after thousands of thermal cycles.
Low Temperature
At low temperature, some elastomers become significantly stiffer.
This can increase the forces transferred to the bonding interface during movement or impact.
For equipment that must operate across a wide temperature range, rubber to metal bonding validation should reflect both temperature extremes.
Geometry Can Be More Important Than Bond Strength
A strong bonding process can still fail when component geometry directs the load into an unfavorable mode.
This is one of the most overlooked aspects of bonded rubber design.
Compression
Rubber generally performs well when deformation is distributed through controlled compression.
Bonded mounts, pads, and buffers frequently use compression to support load while allowing limited elastic movement.
Shear
Shear loading can also be used effectively when the bonded area is large enough and deformation is controlled.
The designer should consider how rubber stiffness changes with temperature and strain because this affects shear force at the interface.
Peel
Peel stress is particularly important.
A large bonded area may appear strong, but if geometry concentrates force at one edge, separation can initiate locally and progressively move across the interface.
Design features that can increase peel stress include:
- Sharp metal edges
- Thin unsupported rubber sections
- Poorly positioned bonded areas
- Large bending movement
- Abrupt stiffness transitions
- Loads applied far from the bonded interface
Whenever possible, rubber to metal bonding geometry should distribute forces instead of concentrating them at an exposed edge.
Rubber Thickness and Bonded Area Are Not Independent
Adding more rubber does not always improve durability.
A very thick rubber layer can allow greater movement, creating higher displacement near the interface.
A very thin layer can become excessively stiff and transfer high stress to the metal or bond line.
The optimal rubber thickness depends on:
- Required deflection
- Load direction
- Rubber hardness
- Bonded area
- Temperature
- Frequency of movement
- Part dimensions
- Service life
This is why rubber thickness should be selected as an engineering parameter rather than simply filling the available space between metal components.
Rubber Hardness Is Only One Design Variable
Buyers often specify bonded parts mainly by dimensions and Shore A hardness.
Hardness is useful, but it cannot fully describe the mechanical behavior of a rubber to metal bonding assembly.
Two rubber compounds with similar hardness can differ in:
- Tensile strength
- Elongation
- Tear resistance
- Compression set
- Heat aging
- Dynamic fatigue
- Fluid resistance
- Stress relaxation
The current ISO 48-4 standard defines durometer methods for determining indentation hardness of vulcanized or thermoplastic rubber.
For tensile stress-strain properties, ISO 37:2024 covers measurements such as tensile strength, elongation at break, and stress at specified elongation.
For demanding bonded components, hardness should therefore be specified alongside the properties that actually control service performance.
The Most Common Rubber to Metal Bonding Failure Patterns
A useful failure investigation starts with what can be observed rather than immediately changing the material.
| Failure Pattern | Possible Cause | What to Check |
| Clean metal visible after separation | Interface preparation or bonding issue | Cleaning, oxidation, coating, bonding application |
| Rubber remains on most of the metal | Rubber failure or excessive loading | Rubber strength, geometry, strain, operating load |
| Failure begins at one edge | Peel stress or geometry problem | Insert edge, load direction, bonded-area design |
| Only certain areas separate | Uneven coating or contamination | Application consistency and insert handling |
| Failure after high-temperature cycles | Thermal aging or differential expansion | Temperature profile and material compatibility |
| Bond weakens after oil exposure | Chemical incompatibility or swelling | Actual fluid, immersion behavior, rubber compound |
| Rust visible beneath separated area | Corrosion at interface | Preparation, environmental sealing, metal protection |
| Different batches behave differently | Process variation | Compound batch, metal cleaning, coating, cure records |
| Rubber tears close to insert edge | Stress concentration | Edge radius, rubber thickness, movement |
| Insert moves inside molded part | Poor mold location or excessive pressure | Fixture design and molding parameters |
Why Bonded Components Sometimes Pass Inspection but Fail Later
Initial inspection typically occurs soon after production.
Field service may add conditions that are not present during final inspection:
- Repeated vibration
- Shock loads
- Hot-cold cycles
- Oil exposure
- Water ingress
- Ozone
- Compression
- Bending
- Long-term aging
A component can therefore pass dimensional and visual inspection while still being vulnerable to long-term interface deterioration.
This is why a high-risk rubber to metal bonding project may require qualification testing rather than only final inspection.
Accelerated Aging
Temperature exposure can help evaluate whether the material and interface remain stable after aging.
Results should be interpreted carefully because accelerated tests do not reproduce every field condition.
Fluid Exposure
When the bonded part operates in oil, coolant, water, cleaning chemicals, or another medium, testing should consider actual fluid exposure where practical.
Both the rubber and the interface should be inspected after conditioning.
Cyclic Loading
Anti-vibration components frequently experience thousands or millions of deformation cycles.
Static bond strength alone may not represent this operating mode.
Environmental Cycling
Outdoor and mobile equipment can experience combinations of water, temperature cycling, dirt, ozone, vibration, and corrosion.
The qualification plan should focus on the risks most likely to cause failure in the real application.
How Rubber-to-Metal Adhesion Is Tested
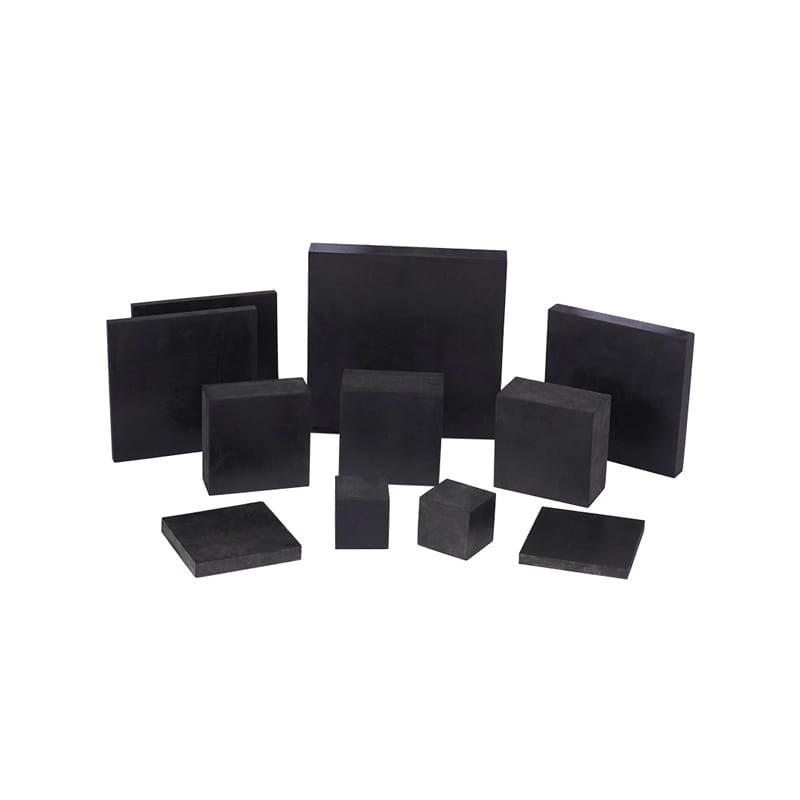
Two recognized references for evaluating adhesion between rubber and rigid substrates are ASTM D429 and ISO 813.
ASTM D429 covers multiple procedures for evaluating the static adhesion of rubber to rigid substrates, typically metals. Its methods include configurations such as bonded plates, 90-degree stripping, conical specimens, and other component geometries.
ISO 813:2019 specifies a 90-degree peel method for evaluating vulcanized or thermoplastic rubber bonded to a rigid substrate and is primarily intended for standardized test pieces used in development and manufacturing control.
Do Not Specify Only “Bond Test Required”
A useful engineering specification identifies:
- Test standard
- Test method
- Specimen geometry
- Rubber compound
- Metal substrate
- Conditioning
- Test temperature
- Loading direction
- Minimum requirement
- Failure-mode acceptance
- Sampling frequency
The chosen test should relate reasonably to the actual component.
A 90-degree peel test, for example, provides useful comparative information but does not reproduce every compression-loaded or shear-loaded industrial assembly.
How to Investigate a Field Bonding Failure
When rubber to metal bonding fails in service, replacing the adhesive system immediately can hide the real cause.
A better investigation follows a structured sequence.
Preserve the Failed Part
Do not aggressively clean the interface.
Residue, corrosion, torn rubber, and contamination patterns may provide important clues.
Document the Failure Location
Record whether separation occurred:
- At one edge
- Around the entire insert
- Near a bolt
- Near a sharp corner
- On one side only
- In a high-temperature zone
- Close to fluid exposure
Location often indicates the loading mechanism.
Compare Used and Unused Parts
Compare parts from the same production lot where possible.
Look at:
- Hardness
- Dimensions
- Rubber appearance
- Bonded area
- Insert position
- Surface corrosion
- Rubber swelling
- Cracking
- Permanent deformation
Review Service History
Important questions include:
- How many operating hours occurred?
- Was the failure sudden or gradual?
- What was the actual temperature?
- Which fluids contacted the part?
- Were cleaning chemicals used?
- Did vibration increase before failure?
- Was equipment alignment changed?
- Was the component over-tightened during installation?
Review Manufacturing Records
Useful records may include:
- Rubber batch
- Metal lot
- Cleaning process
- Surface preparation
- Bonding application
- Drying time
- Mold temperature
- Cure cycle
- Operator or production line
- Inspection results
The objective is to determine whether the failure is related to design, environment, material, manufacturing, installation, or a combination of factors.
Design for Manufacturing Tips for Bonded Rubber Components
A more manufacturable design can improve rubber to metal bonding consistency and reduce quality problems.
Avoid Unnecessary Sharp Metal Edges
Edges near the bond line can concentrate stress and may also make coating coverage more difficult.
Suitable radii can improve rubber flow and reduce local strain.
Provide Positive Insert Location
The mold should control insert position rather than relying entirely on manual judgment.
Stable location helps maintain:
- Rubber thickness
- Concentricity
- Bond area
- Hole position
- Overall dimensions
Consider Flash Locations
The mold parting line and insert shut-off areas should be reviewed before tooling is finalized.
Flash in a sealing surface or assembly area can create unnecessary secondary operations.
Specify Critical Surfaces
Not every metal surface needs the same dimensional or cosmetic requirement.
Drawings should clearly identify:
- Bonded surfaces
- Sealing surfaces
- Threaded areas
- Cosmetic areas
- Areas that must remain free from rubber
- Datum surfaces
Avoid Overly Tight Rubber Tolerances Without Functional Need
Rubber is more flexible and process-sensitive than machined metal.
Tolerances should reflect the actual function of the component. Unnecessarily tight dimensions may complicate molding without improving assembly performance.
What Should Be Included in a Rubber to Metal Bonding RFQ?
A strong RFQ provides enough information for the manufacturer to evaluate both the rubber and the interface.
Drawing Information
Include:
- 2D drawing
- 3D model where available
- Revision number
- Critical dimensions
- Tolerances
- Bonded area
- Metal insert drawing
- Thread requirements
- Surface-finish requirements
Rubber Requirements
Specify where known:
- Rubber family
- Hardness
- Color
- Tensile requirements
- Elongation requirements
- Compression set requirement
- Temperature range
- Fluid resistance
- Weathering requirements
When the rubber material is not yet finalized, provide operating conditions instead of guessing a compound.
Metal Requirements
Provide:
- Metal grade
- Surface condition
- Heat treatment if applicable
- Plating or coating
- Corrosion requirement
- Dimensional tolerances
- Areas that can or cannot be surface treated
Operating Conditions
Describe:
- Static load
- Dynamic load
- Vibration
- Frequency
- Compression
- Shear
- Bending
- Temperature
- Fluids
- Outdoor exposure
- Expected service life
Validation Requirements
State whether the project requires:
- First article inspection
- Material certificates
- Hardness testing
- Bond testing
- Dimensional report
- Tensile testing
- Aging tests
- Fluid immersion
- Production batch traceability
Industrial buyers developing a new bonded component can review Huadao’s customized rubber product range and submit drawings, samples, or operating information through the contact page.
A Better Way to Compare Rubber to Metal Bonding Samples
When evaluating multiple prototype samples, do not choose the best-looking part only.
Use a controlled evaluation matrix.
| Evaluation Area | Questions to Ask |
| Bond interface | Is separation visible at any edge? |
| Insert position | Is the metal accurately centered and located? |
| Rubber flow | Are all features fully filled? |
| Flash | Does flash interfere with assembly or sealing? |
| Rubber hardness | Does the result match the approved range? |
| Dimensions | Are critical dimensions stable across samples? |
| Bond strength | Does the selected test meet the requirement? |
| Failure mode | Does rubber tear before unwanted interface separation? |
| Aging | Does the bond remain stable after thermal conditioning? |
| Fluid compatibility | Does exposure change rubber or interface behavior? |
| Corrosion | Is the metal adequately protected for the environment? |
| Repeatability | Do samples from different molding cycles perform consistently? |
Prototype approval should focus on repeatability rather than one unusually good sample.
Questions to Ask Before Approving Production
A sourcing team does not need to know every detail of adhesive chemistry, but it should understand how the process is controlled.
Useful questions include:
- How are metal inserts cleaned?
- How is the prepared surface protected from contamination?
- How is coating coverage controlled?
- How are inserts positioned in the mold?
- How are cure time and mold temperature monitored?
- How are bonded parts visually inspected?
- What bond test can be performed for qualification?
- Can production lots be traced?
- What happens if the metal supplier or surface treatment changes?
- How will process changes be approved after sample validation?
These questions help distinguish a repeatable rubber to metal bonding process from a process that depends mainly on operator experience.
Frequently Asked Questions
What Is the Best Rubber for Rubber to Metal Bonding?
There is no single best rubber. The correct compound depends on temperature, fluid exposure, weathering, deformation, hardness, fatigue requirements, and expected service life. The bonding system must then be compatible with both the rubber compound and the metal substrate.
Does Rubber Bond Better to Rough Metal?
Controlled surface preparation can improve bonding, but greater roughness does not automatically guarantee better results. The correct surface depends on the substrate, bonding process, rubber compound, geometry, and environmental requirements.
Can Rubber Be Bonded to Stainless Steel?
Yes, suitable processes can be developed for stainless steel. Surface preparation and bonding conditions must be selected for the actual grade and operating environment.
Can Rubber Be Bonded to Aluminum?
Yes. Aluminum inserts are used in some bonded components, but the surface condition, oxide layer, preparation process, insert strength, and thermal behavior must be considered during development.
Why Does Rubber Peel Away from a Metal Insert?
Possible causes include contamination, surface oxidation, incompatible materials, incomplete bonding-agent coverage, incorrect curing, peel stress, thermal cycling, chemical exposure, or corrosion. The fracture surface should be examined before deciding on corrective action.
Is Bond Strength the Same as Rubber Tensile Strength?
No. Tensile testing measures the mechanical behavior of the rubber, while bond testing evaluates the interface between rubber and a rigid substrate. Both can be important in a bonded component.
How Can I Tell Whether the Bond or Rubber Failed?
Inspect the exposed surfaces. Rubber remaining attached across the bonded area suggests cohesive rubber failure, while a relatively clean interface may indicate separation closer to the bonding layer or substrate. Mixed patterns are common and may require more detailed analysis.
Should Bonded Parts Be Tested After Aging?
For applications exposed to heat, chemicals, fluids, vibration, outdoor conditions, or long service periods, post-aging evaluation can provide useful information that an initial room-temperature test may not reveal.
Can Rubber to Metal Bonding Be Used for Vibration Components?
Yes. Bonded rubber-metal structures are commonly suited to vibration isolation because metal provides mounting and structural support while rubber provides elastic deformation and damping. Geometry, rubber stiffness, load, frequency, and fatigue must still be engineered correctly.
What Information Is Needed for a Custom Bonded Part?
Provide a drawing or sample, rubber requirements, metal grade, hardness, bonded area, load direction, operating temperature, fluid exposure, expected movement, quantity, required testing, and service-life expectations. Unknown material details can often be evaluated more effectively when the real application conditions are provided.
Conclusion
Successful rubber to metal bonding is not determined by adhesive alone. It depends on a controlled chain that begins with component design and continues through material selection, metal preparation, bonding application, insert location, rubber molding, vulcanization, inspection, and validation.
The most reliable projects begin by defining how the part will actually work.
Will it carry compression, shear, or peel load? Will it operate continuously at elevated temperature? Will it contact oil or water? Will the rubber flex repeatedly? Could corrosion reach the interface? How long is the expected service interval?
Once these questions are answered, rubber to metal bonding can be designed around the real failure risks rather than a generic manufacturing recipe.
For buyers, the most important lesson is to evaluate the entire bonded system. A part with good appearance and correct hardness can still fail if surface preparation is inconsistent or geometry concentrates stress at the bond edge. Likewise, an excellent bond cannot compensate for an unsuitable rubber compound or excessive mechanical strain.
A well-developed bonded component combines compatible materials, manufacturable geometry, documented process control, relevant testing, and clear production specifications. That combination provides a much stronger foundation for long-term industrial reliability than bond strength alone.